If you’re looking for a simple way to get kids outside, this might be one of the easiest (and sweetest) activities to try.
Butterfly feeders are quick to make and use things you probably already have at home. Once they’re set up, the fun doesn’t stop, you can keep coming back to see what shows up. You can also grab our free printables to keep the fun going. We have provided fun painting ideas and a free butterfly bingo page where kids can mark off the colors of the butterflies they see.
Here are three easy ways to make one. Whether you want something super simple, a fun DIY project, or a pretty setup for your backyard, you’re sure to find the perfect butterfly feeder.
This is a fun activity for:
- family time outside
- playdates
- classroom activities
- birthday parties
In this post, you’ll find:
- a super simple feeder – great if you’re short on time
- a fun DIY version – great if you want a creative project with the kids
- a pretty Party Pro station – Need a backyard decoration with no mess
Choose the version that works best for you:
Jump To Your Favorite Version
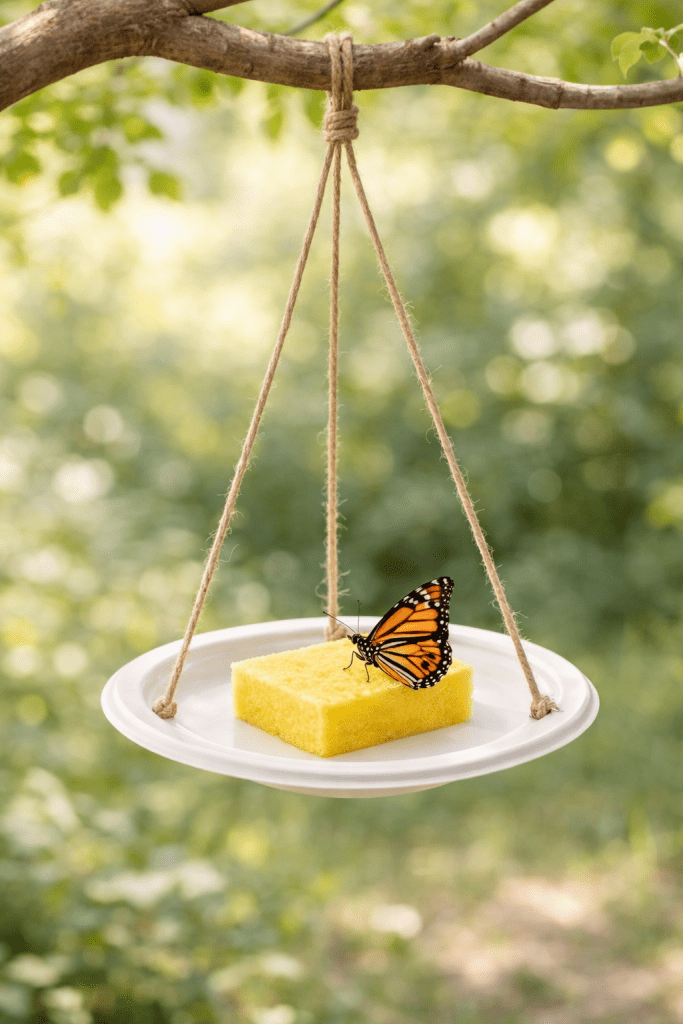
SIMPLE BUTTERFLY FEEDER
If you’re short on time or need an easy activity, this is the perfect place to start.
This simple feeder comes together in just a few minutes, but it turns into something kids can keep coming back to throughout the day. It’s a fun way to mix a little science and nature without it feeling like a lesson. Just set it out and see what shows up.
There’s something really special about slowing down and watching for that first butterfly.
How to set it up:
What You’ll Need
- Small paper plate or plastic lid
- Sponge or folded paper towel
- Sugar
- Water
- String or twine (optional, for hanging)
You can use a paper plate, but it may get soggy and isn’t as reusable.
🎉 Free Butterfly Printables
Make this activity even more fun with these free printables!
🎨 Painting Ideas for Kids
Get inspiration for decorating your butterfly feeder
→ Download here
🦋 Butterfly Color Sightings Bingo
Let kids track the colors of butterflies they spot
→ Download here
Start by making your sugar water. In a small bowl, mix 1 part sugar with 4 parts water and stir until it dissolves.
If you’re using a plate, carefully punch 3 or 4 holes, evenly spaced around the plate and tie a piece of string or twine so you can hang it. (You can also skip this step and just set it on a flat surface).
Next, soak your sponge or folded paper towel so it’s damp, not dripping, and place it in the center of your plate or lid.
Once everything is set up, hang it from a tree branch or place it outside in a sunny spot—and then just wait and see what shows up.
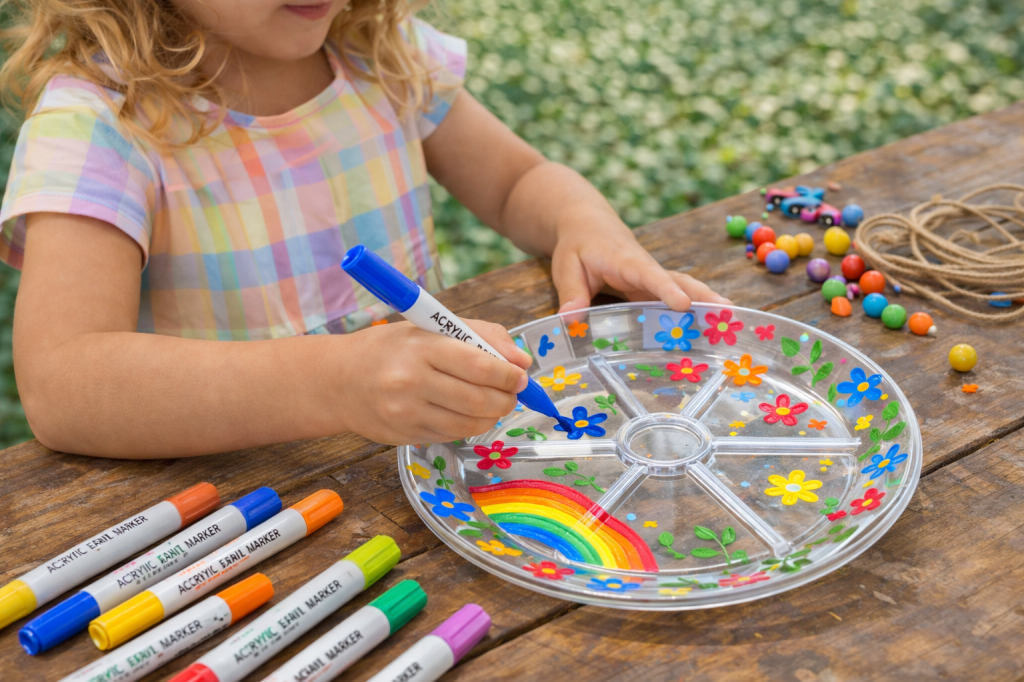
DIY Butterfly Feeder (Creative + Fun)
If your kids love painting or decorating, this is where things get really fun.
Instead of just making a feeder, this version lets them turn it into their own little project. Bright colors, simple designs, and a few fun extras can make it feel special, plus it’s something they’ll be excited to check on once it’s outside.
Supplies for a DIY butterfly feeder:
- Paper plate, lid, or plant saucer
- Paint markers
- Sponge
- Sugar + water
- String or twine
Optional:
- Faux flowers
- Beads
- Ribbon or yarn
- paint sealer or modge podge
*Paper plate may get soggy and is not reusable but easier to paint.
Start by letting kids decorate their plate or saucer with bright colors. Not only does this let them get creative, but bright colors help to attract butterflies. You can keep it simple or let them go all out.
Once it’s dry, seal with paint sealer or modge podge (this will help the paint last longer). Then, punch holes around the edge and tie your string so it can hang evenly (You can also skip this step and just set it on a flat surface).
Mix your sugar water (1 part sugar, 4 parts water), soak your sponge so it’s damp, and place it in the center. Also optional is adding some fruit slices. Or forget the sponge and just do the fruit.
Then hang it outside or set it in a sunny spot and let the butterflies do the rest.
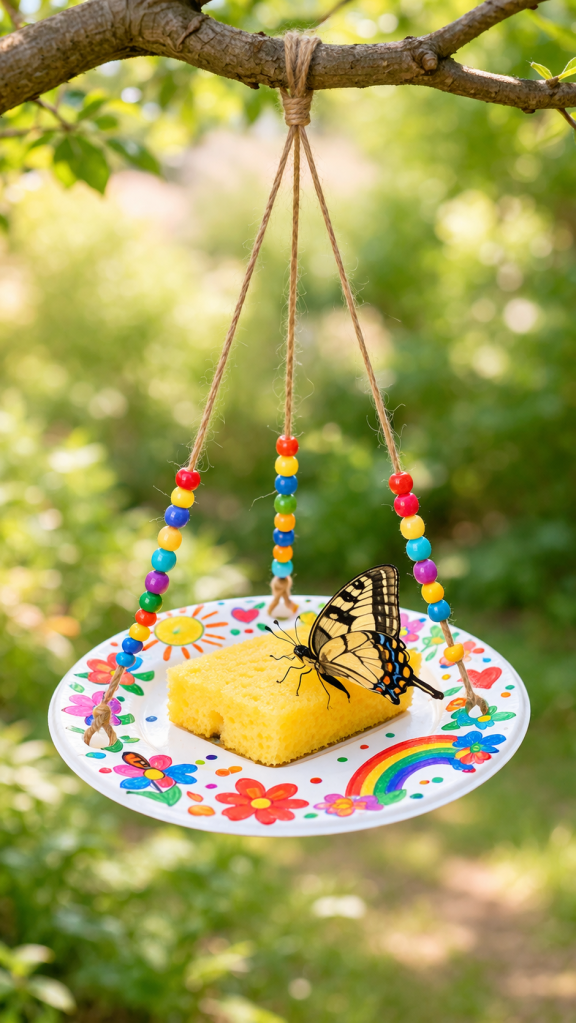
Little Ideas to Make It Extra Fun
- Use bright colors can help attract butterflies
- Add beads along the string
- Slide faux flowers down the string
- Tie on ribbon or yarn
Party-Pro Butterfly Feeder (Pretty + No Mess)
If you’re looking for something a little more special, this version turns your feeder into a charming garden accent.
It’s still simple enough to make with your kids, but with a few thoughtful touches, it becomes something that feels more lasting and meaningful, something you’ll love seeing outside day after day.
What You’ll Need
- Terracotta pot + saucer
- Sponge
- Sugar + water
- Orange slices or soft fruit
- Twine (optional, if hanging)
- Optional:
- Glass rocks
- Fresh or faux flowers
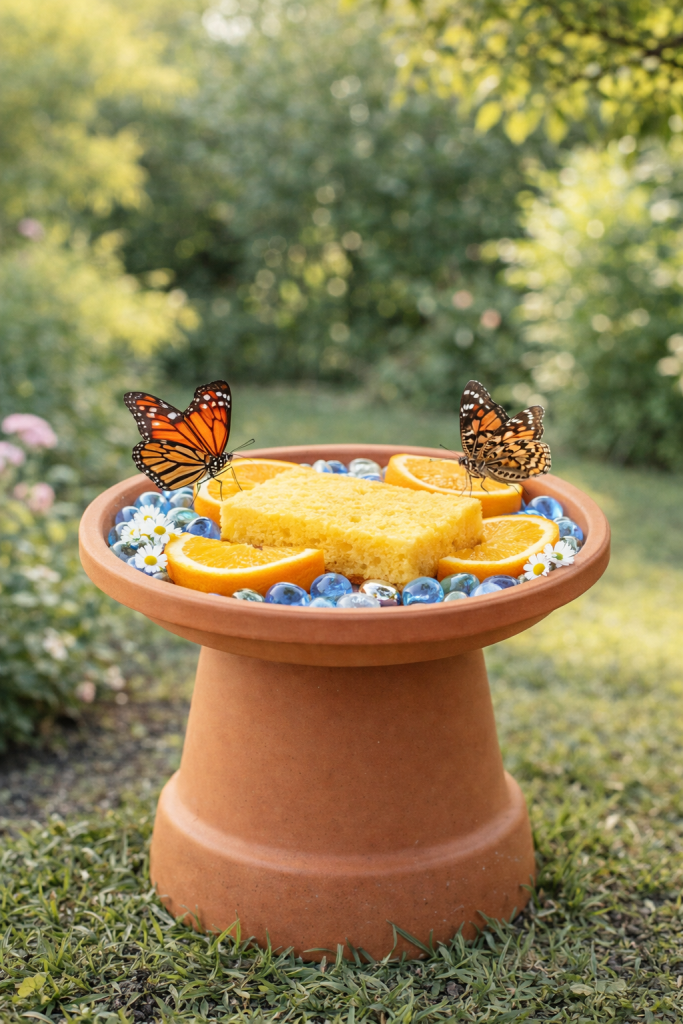
Start by placing your terracotta saucer on top of an upside-down pot to create a simple stand. This keeps everything lifted and easy to see.
Add your sponge to the center and lightly soak it with your sugar water (1 part sugar, 4 parts water), making sure its damp but not dripping.
Then arrange a few orange slices or soft fruit around the sponge. This not only looks pretty, but it can help attract more butterflies.
Extra Details
- Add a few glass gems around the edge for a soft sparkle
- Keep colors natural and simple (don’t overcrowd it)
- Place it somewhere visible so kids can come back and check
Sometimes the simplest activities end up being the ones kids remember most.
Whether you make a quick feeder or take a little more time with it, it’s a fun way to slow down, step outside, and see what shows up. 🎉 Don’t forget to grab your free printables above to keep the fun going!

Leave a comment